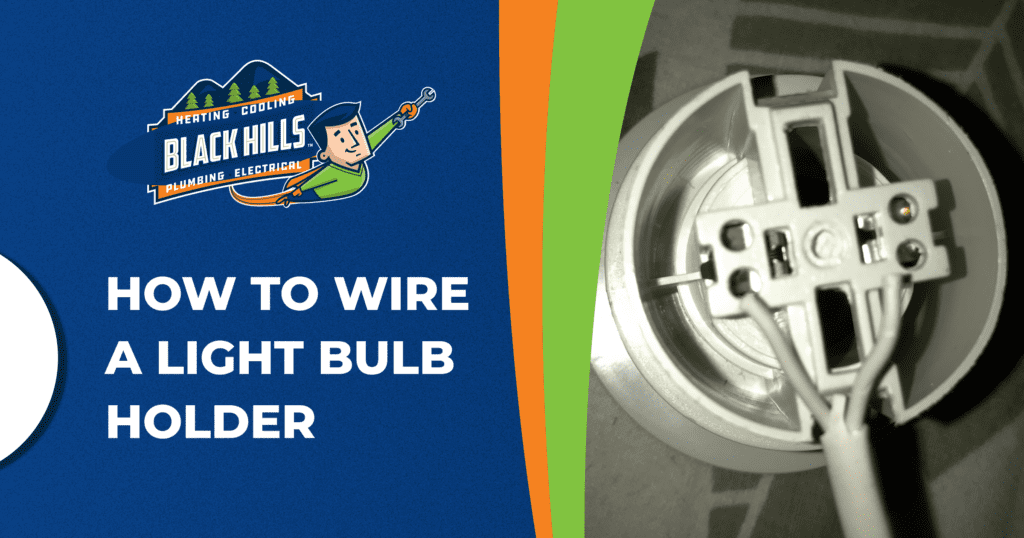
Light fixtures have many colloquial names, such as bulb socket, bulb holder, lamp, ceiling light, etc. And they come in many different shapes and sizes, each designed to accommodate a specific bulb size. Connecting fixtures directly to an electrical circuit makes light fixtures directly controllable with light switches and hides the wiring within the walls, making for a much cleaner look.
Different fixture models may have slightly different instructions for installation, but we’ll walk you through the general process of how to wire and install a light bulb holder.
How to Wire a Light Bulb Fixture
Installing a light fixture may seem daunting, but with the proper guidance, it can be a straightforward process. This guide will walk you through the step-by-step process of installing a light fixture. Whether you’re a DIY enthusiast or a beginner, this walkthrough will give you the knowledge and confidence to successfully install a light fixture in your home or office space.
Step 1: Place Safety First
Before you begin any electrical work, it is crucial to prioritize safety. Start by turning off the power supply to the area where you will be working. Locate the circuit breaker or electrical box and switch off the corresponding circuit. Use a voltage tester to ensure the power is off before proceeding.
Step 2: Gather the Necessary Tools and Materials
You will need a few essential tools and materials to install a light fixture. These include a screwdriver, wire strippers, wire connectors (sometimes called wire nuts), electrical tape, a ladder or step stool, and the new light fixture.
Step 3: Remove the Old Fixture
If you are replacing an existing light fixture, begin by removing it. Turn the fixture counterclockwise until it loosens, and disconnect the wires. Carefully detach the fixture from the ceiling or wall, taking note of how it was mounted. This step may require the assistance of another person, especially if the fixture is heavy or located in a hard-to-reach area.
Step 4: Prepare the Wiring
Before connecting the new light fixture, you need to prepare the wiring. Start by stripping the insulation (the plastic jacket) from the ends of the wires using wire strippers. Typically, you will find three wires: a black (hot) wire, a white (neutral) wire, and a green or copper (ground) wire. Strip about half an inch of insulation from each wire to expose the bare copper.
Step 5: Connect the Wires
Now, it’s time to connect the wires of the new light fixture to the existing electrical wiring. Begin by connecting the black wire from the fixture to the black (hot) wire in the electrical box. Twist the ends of the wires together and secure them with a wire connector. Repeat this process for the white (neutral) wires and the green or copper (ground) wires. Ensure that the connections are tight and secure.
Step 6: Test Power and Wiring
Test the newly installed light fixture before securing and mounting everything in place. Switch on the circuit breaker or fuse box and flip the light switch to ensure the fixture functions correctly. If everything is in order, turn off the power again and finalize the installation.
Step 7: Mount the Light Fixture and Finalize Installation
With the wiring complete, it’s time to mount the light fixture. Follow the manufacturer’s instructions to attach the fixture to the ceiling or wall. Use the provided screws and brackets to secure it in place. Double-check that all connections are secure and that the fixture is level before proceeding.
Finish by securing loose wires, covering them with electrical tape, and replacing the fixture cover.
When doing any bulb holder wiring or electrical work, it’s essential to be extremely careful. There’s always a risk of shocks or burns. If you’re uncomfortable or uncertain about handling this task, contact a professional electrician.
Types of Lamp Holders
While they usually have similar wiring configurations, light bulb holders have different designs. Here are a few examples of holders you may encounter:
- Batten Lamp Holders: These screw into place and use either Edison screws or bayonet cap mounts. They can fit vertically onto a wall fitting.
- Table Lamp Holders: These are oriented upright, can incorporate any major mount type, and often include switches.
- Bottle Lamp Holders: The cable and switch are threaded through a hole, which must be drilled at the base of an empty bottle. Then, the cable extends up to the bulb holder, which fits in the bottle’s neck.
- Pendant Light Fittings: Designed for suspended ceiling lamps, these hang from a cord or cable; the bulb pushes or screws in from below.
At Black Hills Home Services, we provide all types of electrical work in Olympia and surrounding areas. Our professionals are licensed to provide residential electrical repair, maintenance, and installation and know how to wire a light bulb fixture. In addition to lighting, we can do rewiring, electrical panel repair, and generator installation. To schedule service, call 888-530-7677.

