

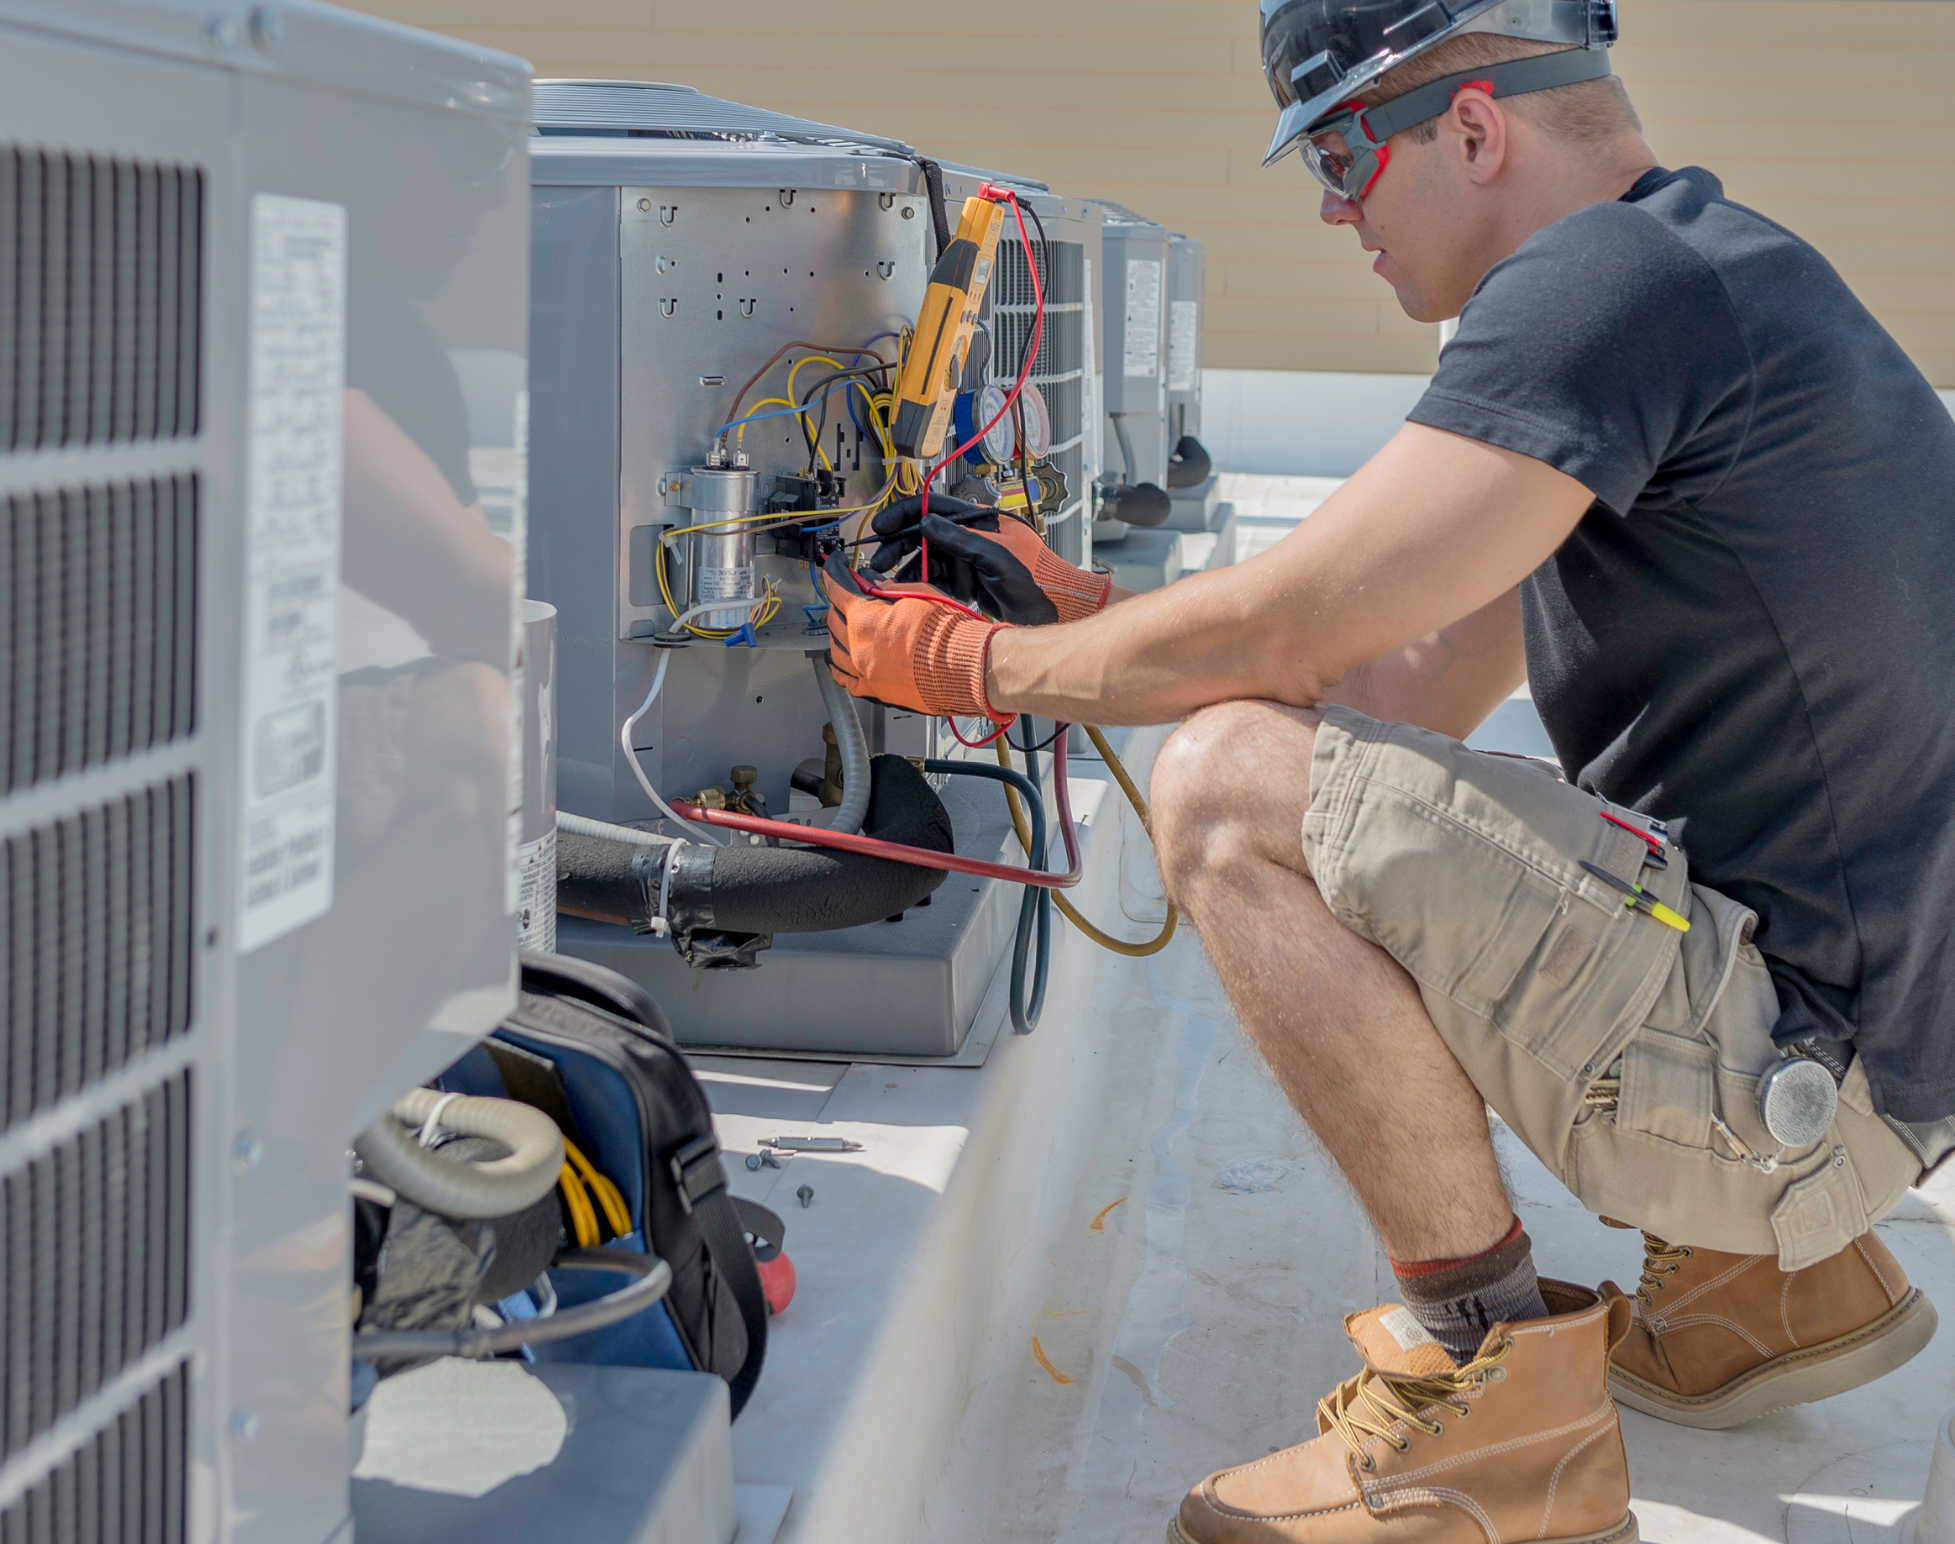
6 Signs Your HVAC Blower Wheel Needs Maintenance
6 Warning Signs Your HVAC Blower Wheel Needs Cleaning or Maintenance Your HVAC system works hard to keep your home comfortable, and one of its
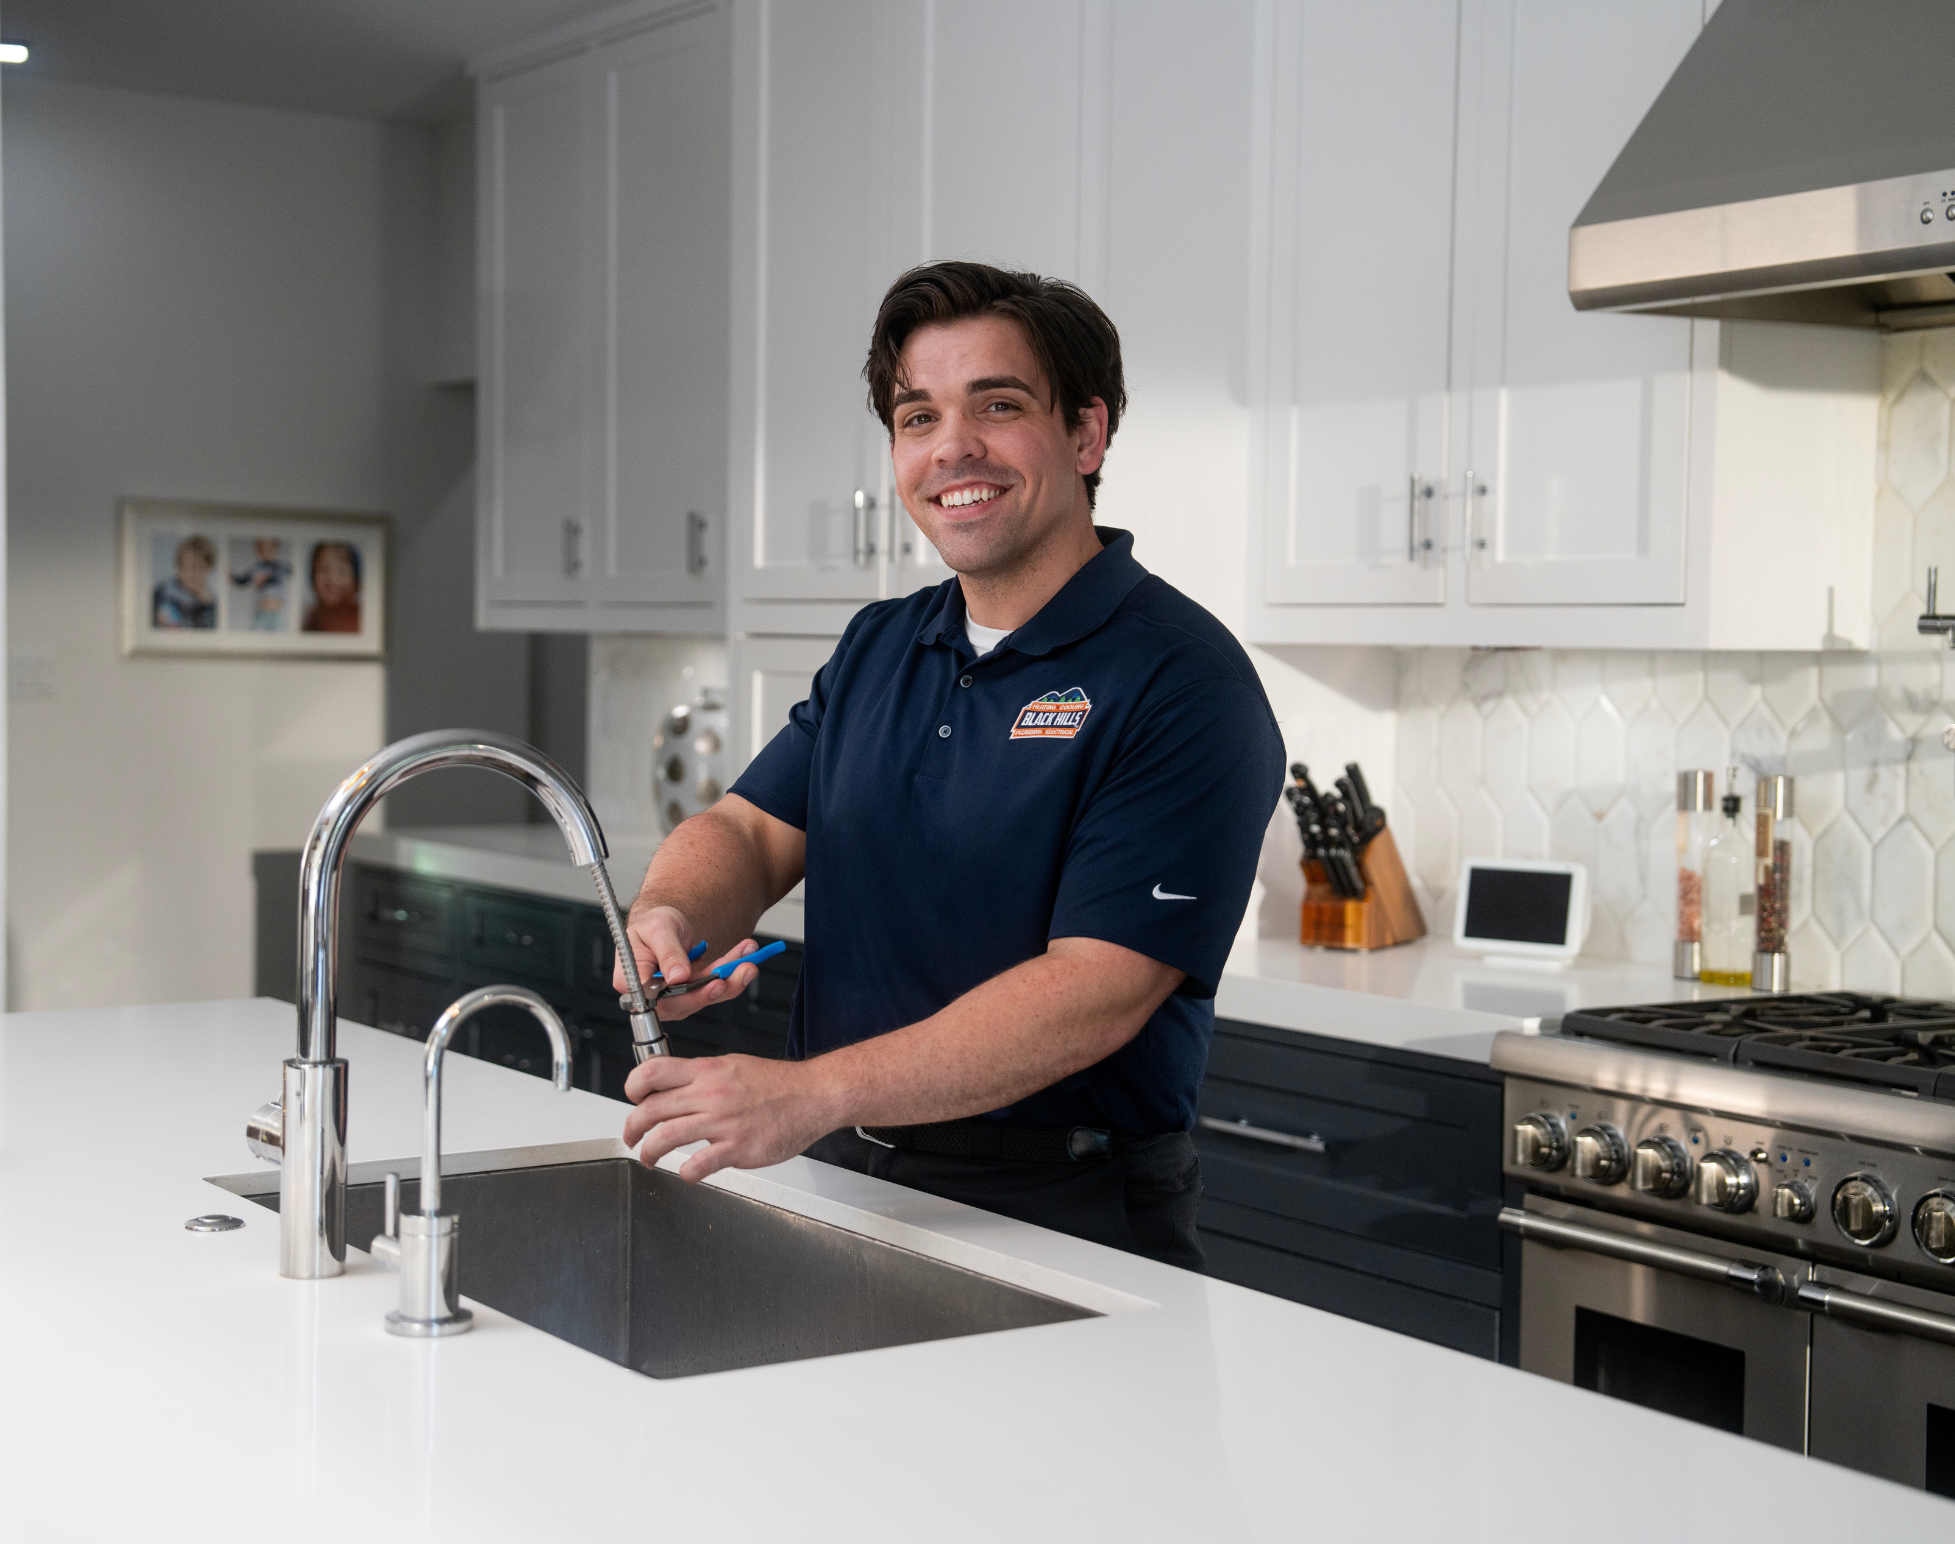
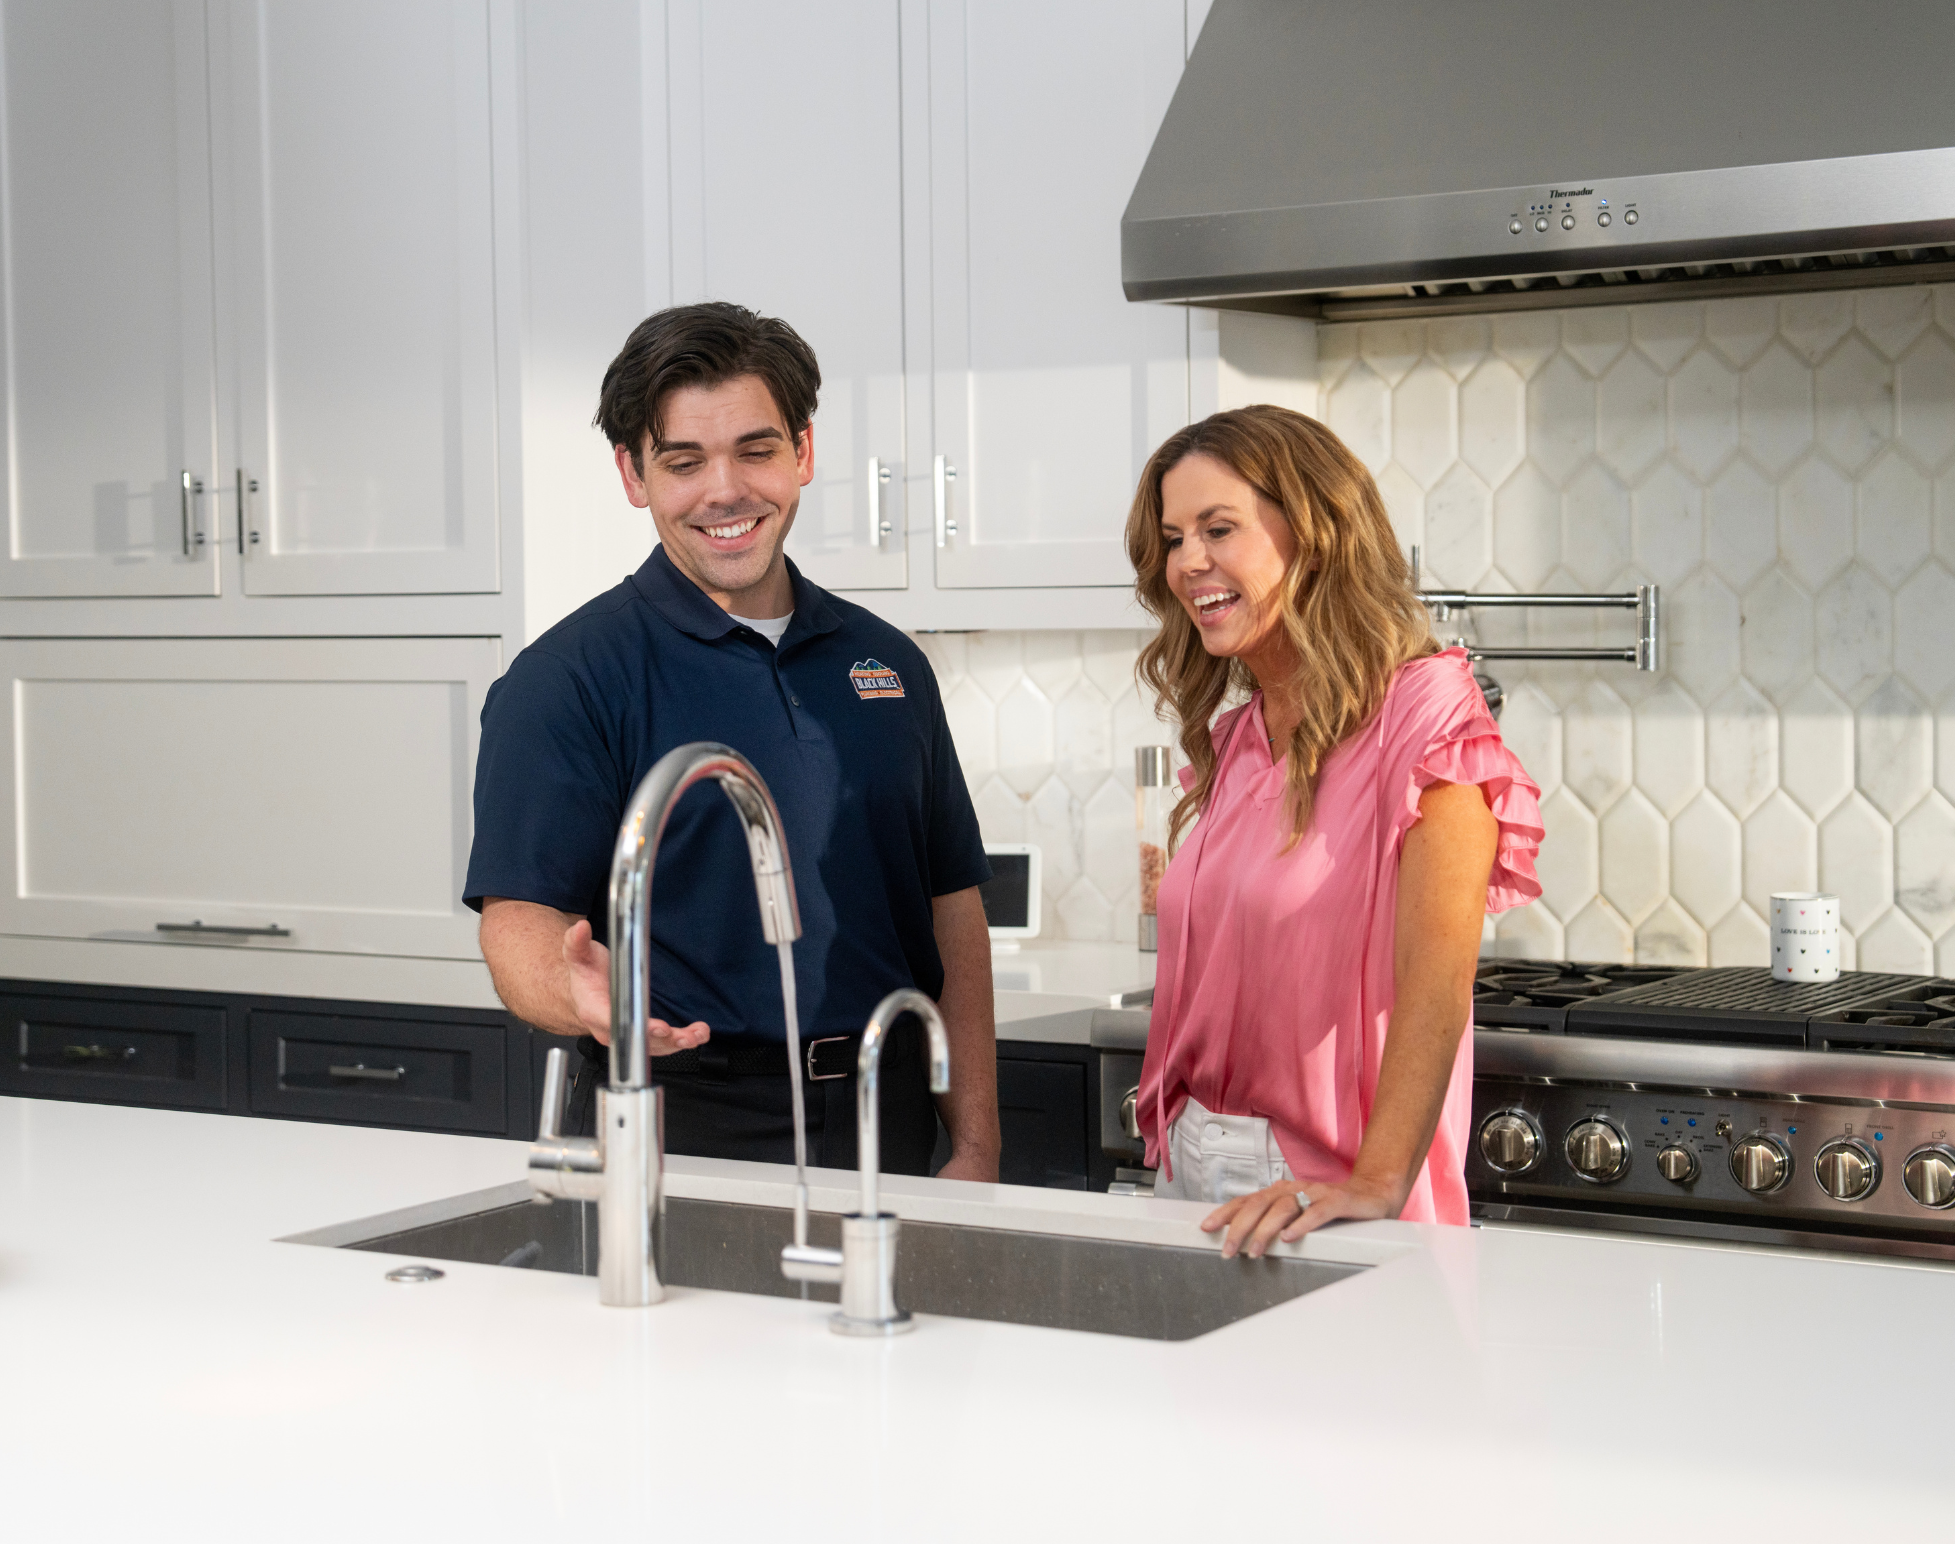
Top Tips to Prevent Clogged Kitchen Drains | Plumbing Olympia
Tips for Preventing Clogged Drains in Your Kitchen Clogged kitchen drains are among the most common and frustrating plumbing issues homeowners face. From messy backups

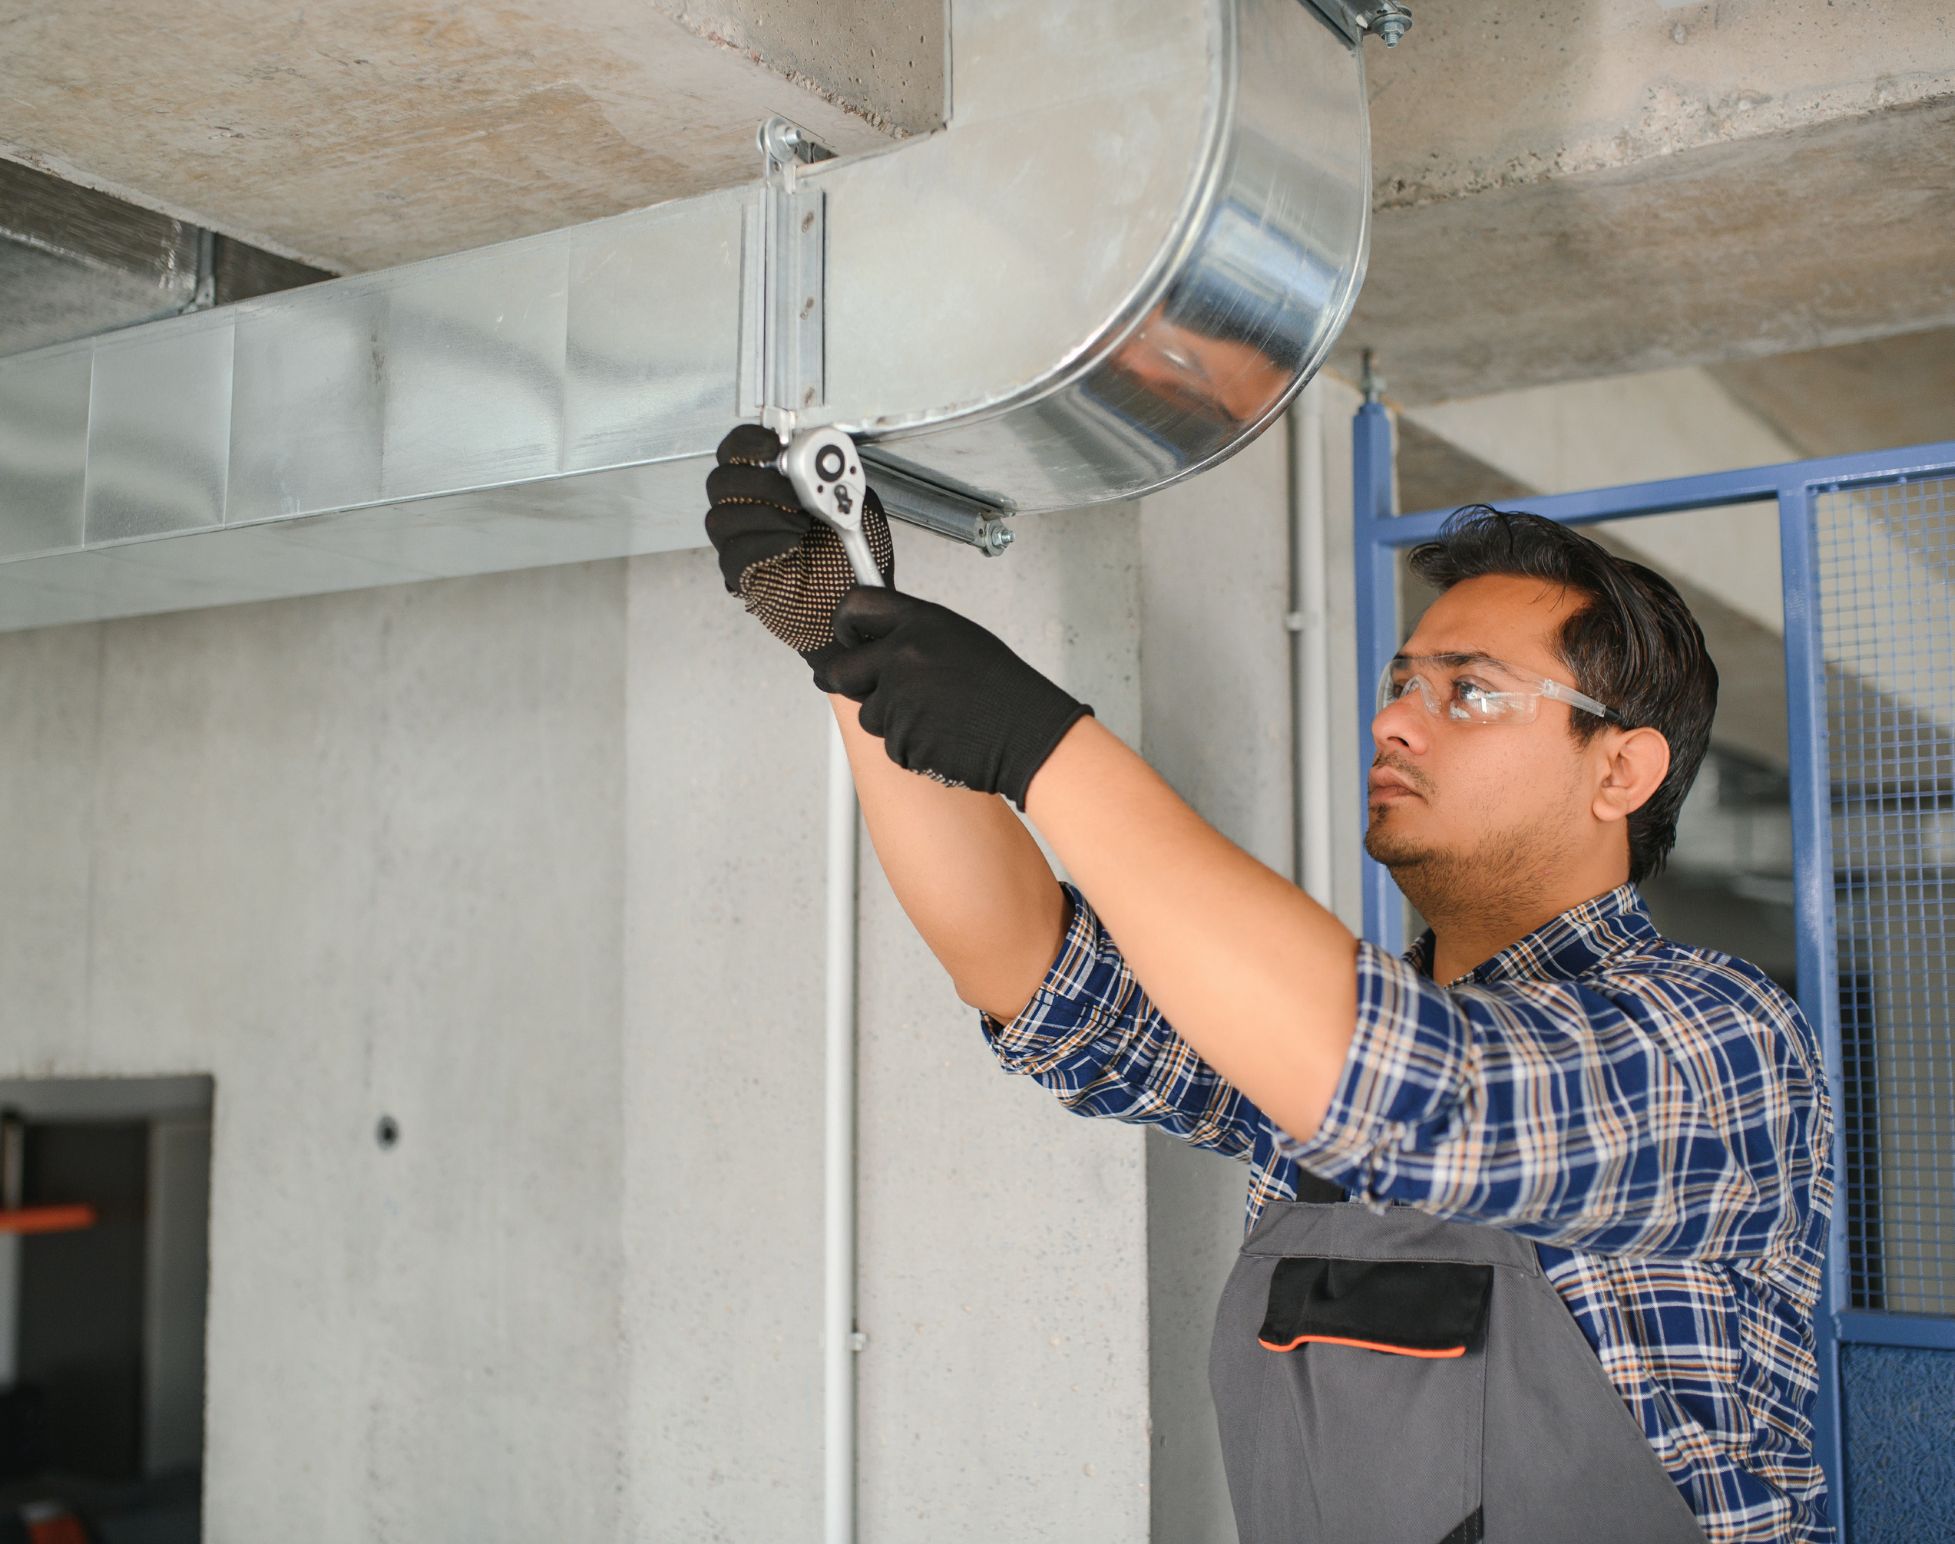
Aeroseal Duct Seal: How It Improves Air Quality and Efficiency
Understanding Aeroseal: How It Works to Improve Air Quality Concerns about indoor air quality and rising energy bills have become more common among homeowners. Hidden
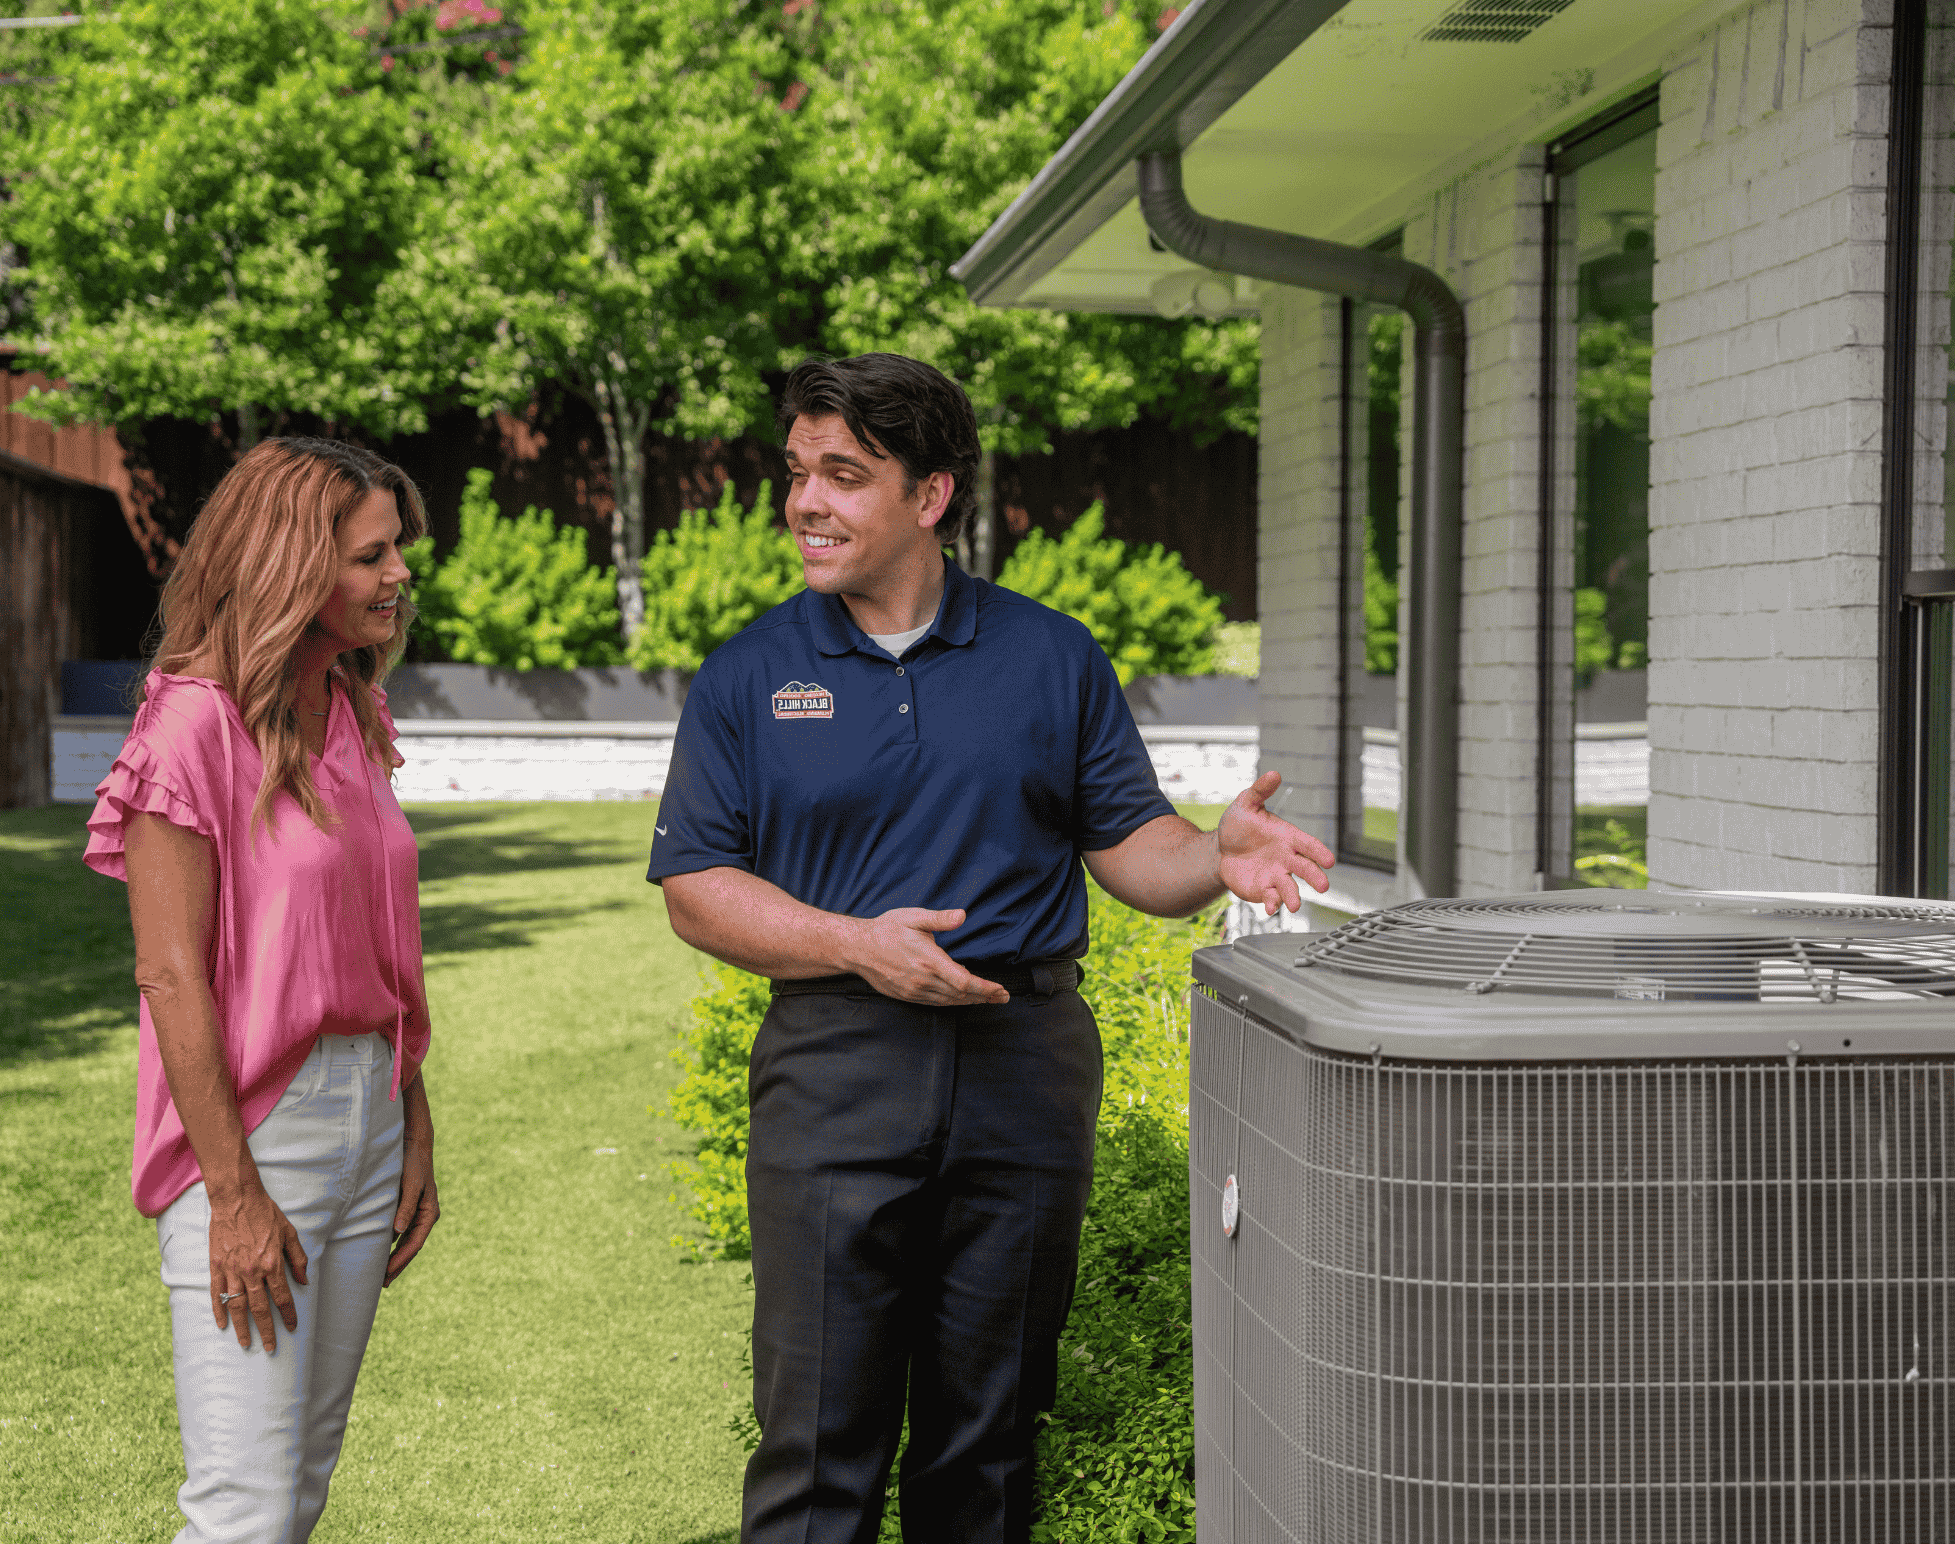
How to Choose the Right Size HVAC System for Your Home
When it comes to home comfort, few decisions are more important than choosing the right size HVAC system. An improperly sized system can lead to

How to Choose the Right Generator for Your Home
We’re ready to save your day! Power outages can strike when you least expect them—during a storm, extreme heat, or simply because the grid is

Extending the Lifespan of Your Mini-Split With Regular Deep Cleaning
Ductless mini-splits are a popular choice in Olympia for efficient, customizable comfort. However, without regular maintenance, dust and debris can reduce efficiency and shorten their
Understanding the Cost of HVAC Repairs vs. Replacement
When your HVAC system starts acting up, you’re faced with a crucial decision: should you repair or replace it? Homeowners often struggle with this choice,
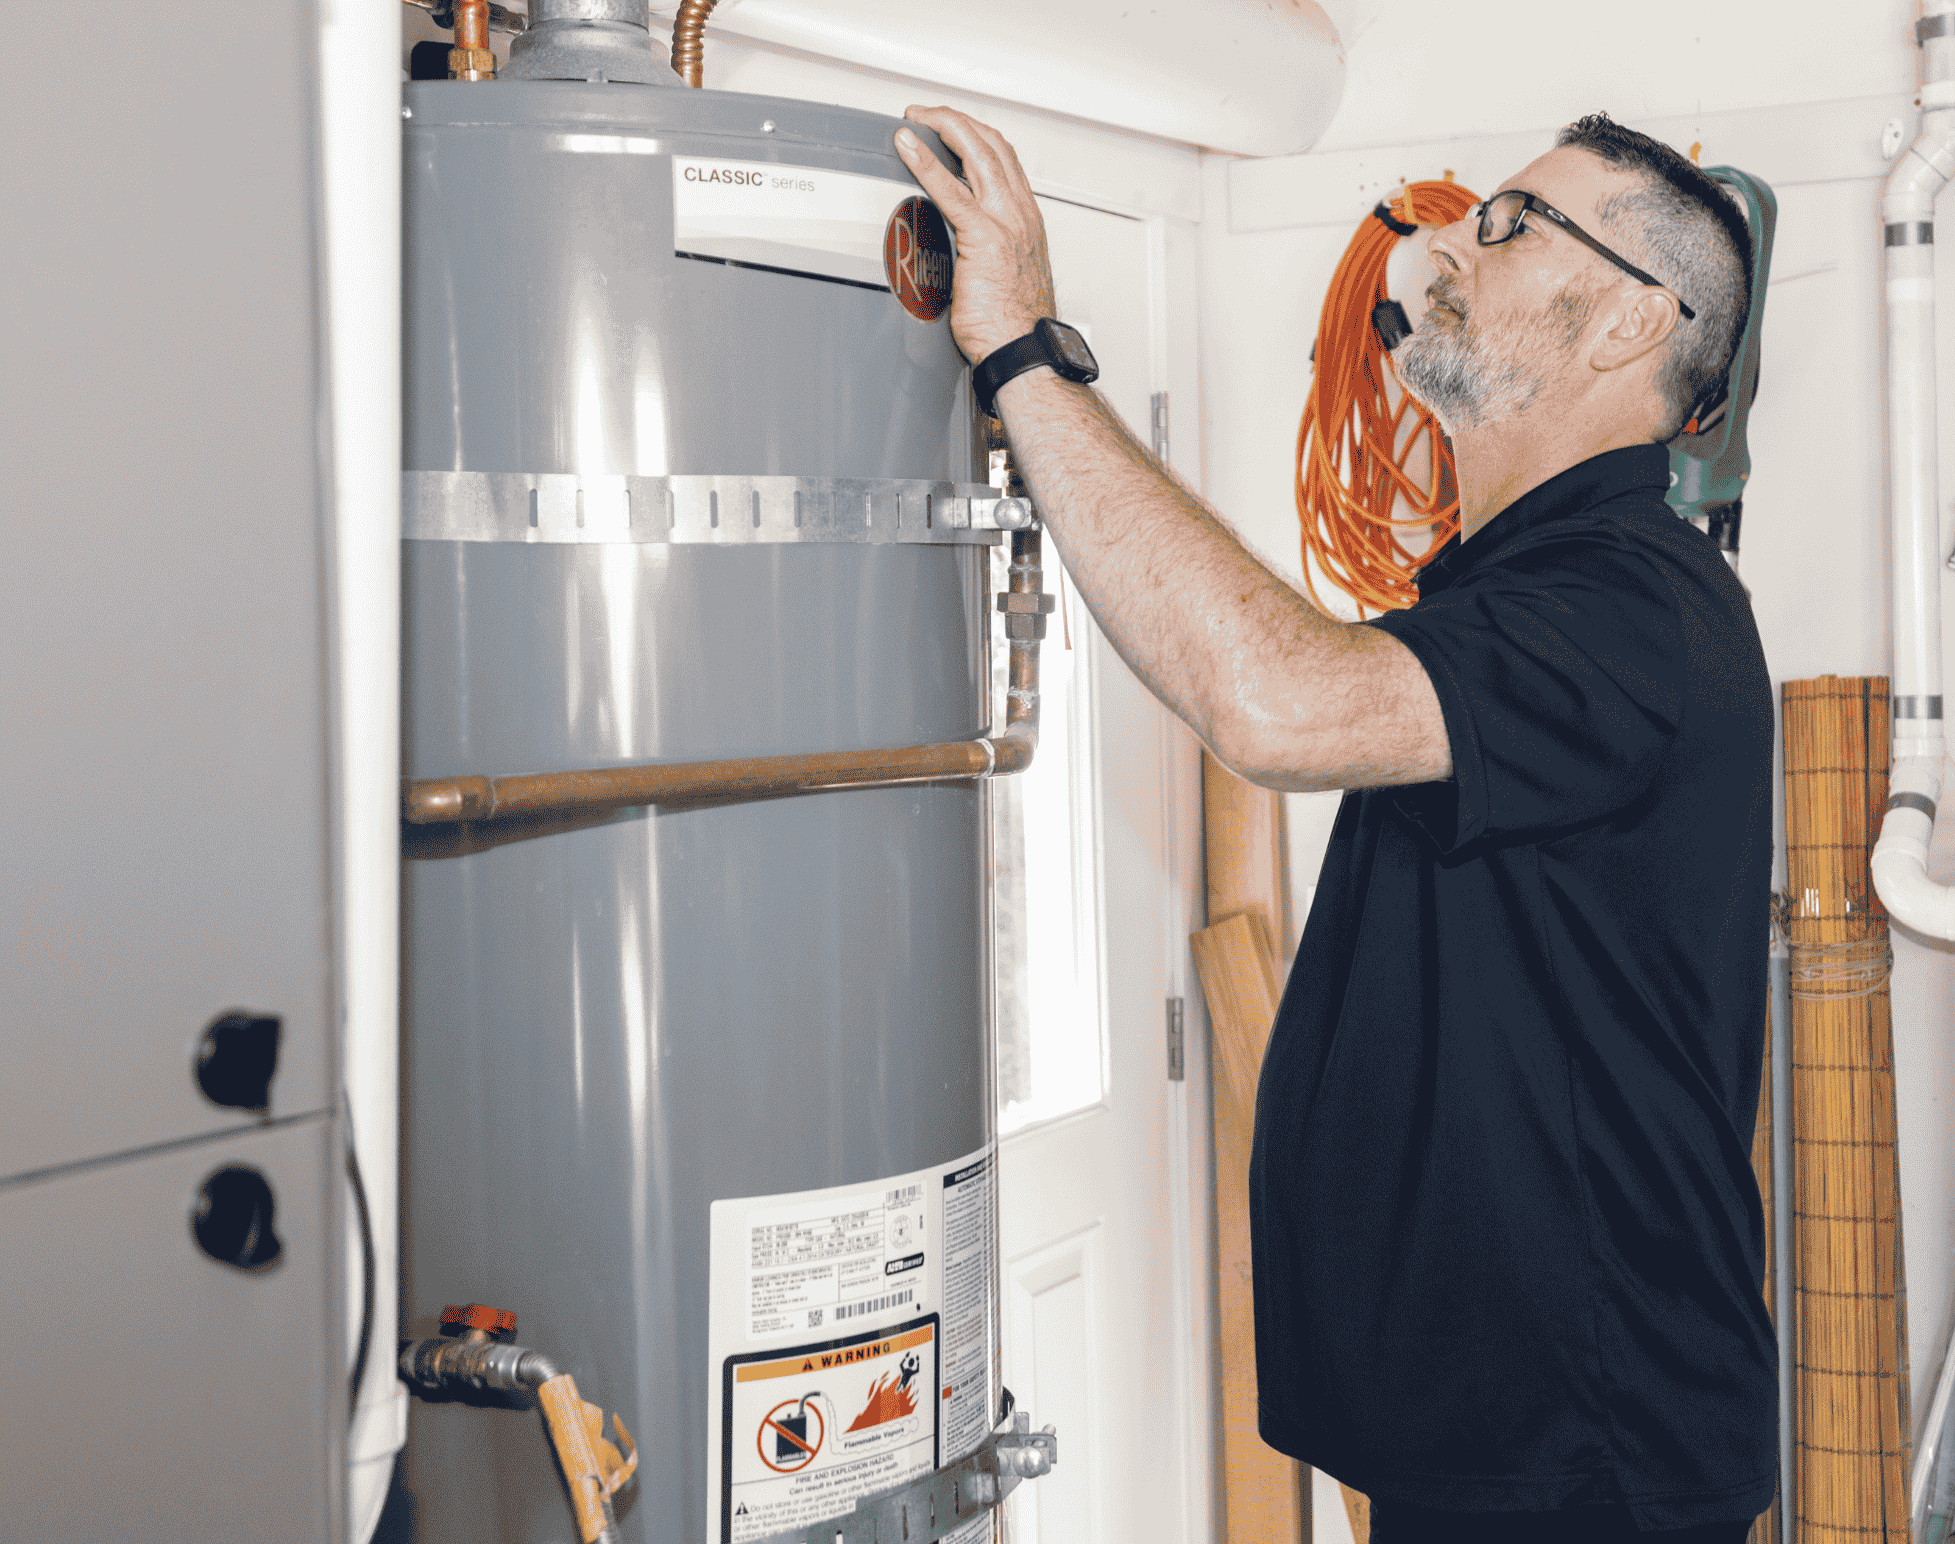
The Benefits of Regularly Flushing Your Water Heater
Maintaining your water heater is essential for ensuring reliable hot water, improving energy efficiency, and extending the lifespan of your system. Over time, sediment buildup

What to Expect During a Professional Duct Cleaning Service
Indoor air quality is key to a comfortable and healthy home. Over time, dust, allergens, and contaminants build up in your ductwork. This reduces HVAC

The Dangers of Ignoring Plumbing Leaks: What You Should Know
Plumbing leaks might seem like minor annoyances, but if ignored, they can quickly turn into expensive disasters. A simple drip, hidden pipe leak, or burst
How to Prevent Frozen Pipes During Winter Months
Winter in Olympia and Puget Sound can bring freezing temperatures that put your home’s plumbing at risk. Frozen pipes aren’t just a hassle—they can lead

How Aeroseal Can Help Combat Indoor Air Pollution
Indoor air pollution is a significant concern in the Puget Sound region, where seasonal changes and humidity affect air quality. Many homes unknowingly circulate allergens,