
The furnace intake vent must be clean for your heater to work properly. A supply of fresh air delivers oxygen to the combustion chamber. Without it, your furnace will malfunction or shut down. But as the vent is drawing in air, it can also attract dirt, lint, and other materials that can build up on the vent screen.
Therefore, when your furnace isn’t heating properly, check the exhaust vent. To find it, follow the intake and exhaust pipes to an exterior wall (usually near the appliance). Then, go outside to the same location, near the foundation, to identify the pipe opening or a white cover in front of it.
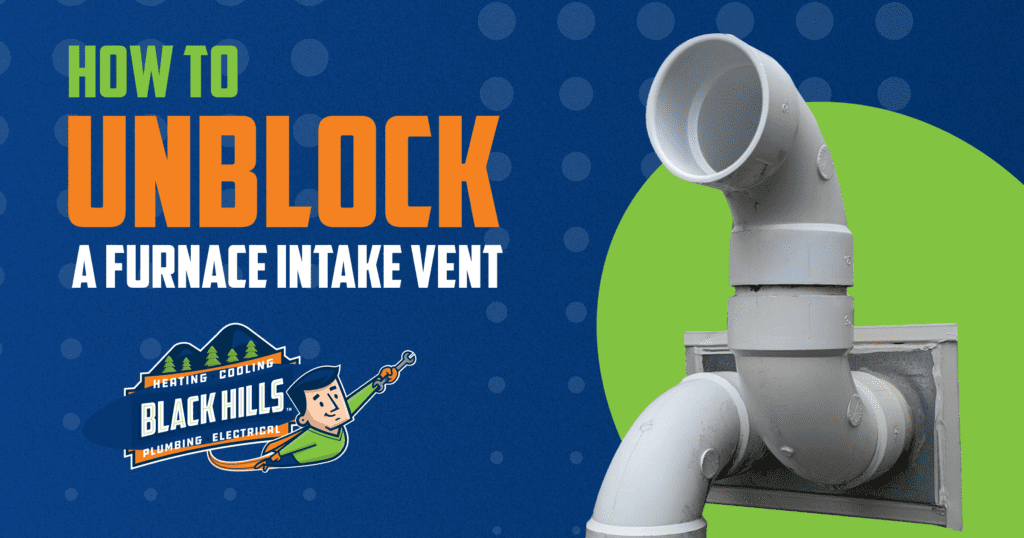
Unblocking a Furnace Intake Vent
A small brush is usually enough to clear debris off the screen. For more stubborn buildup, you can use a shop vac, but that usually isn’t necessary. To start, use a wire brush to remove:
- Leaves: Leaves that fall from deciduous trees or are blown by the wind can be sucked toward the intake vent and block it.
- Snow: Accumulating and drifting snow can easily block furnace intake vents that are low to the ground, preventing fresh air from getting through.
- Soot: If the intake vent is located near the exhaust, soot can be sucked back toward your furnace. Outdoor air pollutants can leave soot deposits as well.
Other culprits that can block exhaust vents include:
- Branches
- Birds
- Rodents
- Rust/Corrosion
- Damage to the Vent
Just a small amount of debris can cause your furnace to stop working. Once it is removed, the heater should start up again. If it doesn’t do so automatically, turn it on manually or follow the manual’s instructions for cycling it on. There may be a separate issue if your furnace still doesn’t start running.
How Do I Identify a Blocked Intake Even If My Furnace Is Still Running?
A partial blockage will still cause a problem. This can occur with leaves that make it deeper into the pipe. They may get lodged in an elbow and lie flat, so your furnace’s safety switch won’t trigger.
You may then notice the odor of decaying leaves in your home. Other decomposing organic debris can let bad smells in as well. But dry leaves pose a risk as they can sometimes get into the burner chamber and ignite, damaging wiring and causing a fire.
Similar issues can occur if animals get into the pipe and pull in leaves, straw, grass, and other nesting materials. Foods animals bring in, as well as their feces, can clog intakes, too.
It can be difficult to reach in and clean the deeper parts of the pipe. Therefore, you should call a professional if you believe the blockage is farther than you can reach.
How Can I Prevent Furnace Intake Vent Blockages?
A vent screen can prevent a blockage inside the pipe. But even this must be properly maintained and kept clear. A contractor can also install the vent in an area that’s not prone to leaves or snow piling up. Also, to stay on top of maintenance:
- Rake up leaves quickly.
- Don’t aim a leave blower toward the vent.
- Face a side-discharge lawn mower away from the intake.
- Don’t allow plants, grasses, and shrubs to grow around the vent.
Why is it Important to Keep Furnace Intake Vents Clear?
There are many reasons why you should try to keep furnace intake vents clear.
- Prevents carbon monoxide buildup and potential poisoning: If the intake vent is blocked, the furnace won’t burn correctly. This can lead to incomplete combustion and the production of CO.
- Improves system efficiency: Blocked vents can reduce how well the furnace functions. It may need to work harder to provide your desired heat setting, increasing utility bills and wear on your system.
- Prevents ice buildup: Snow or ice blocking the intake vents can cause frozen clogs in the pipes.
- Ensures furnace won’t shut down: If a blockage is detected in your system, your furnace will immediately shut down, leaving you uncomfortable in your home.
Call Black Hills Home Services for Help
Prevent clogged furnace exhaust intakes. If you believe debris has adversely affected furnace performance, contact Black Hills to investigate the problem. You may have a clog deeper in the furnace intake vent. Licensed and bonded, we provide professional heater maintenance and repair services in the Olympia area. Schedule service online.