
An air conditioner, washer, dryer, range, electric water heater, or other large appliance often requires a 250-volt plug. It must be inserted into a matching receptacle. If you don’t have a 20-amp 250-volt outlet, you’ll need to install the appropriate circuit and wiring before using the appliance.
A standard 120-volt outlet cannot be converted directly to a 250-volt receptacle, so you’ll need to understand how 20-amp 250-volt receptacle wiring works before doing anything.
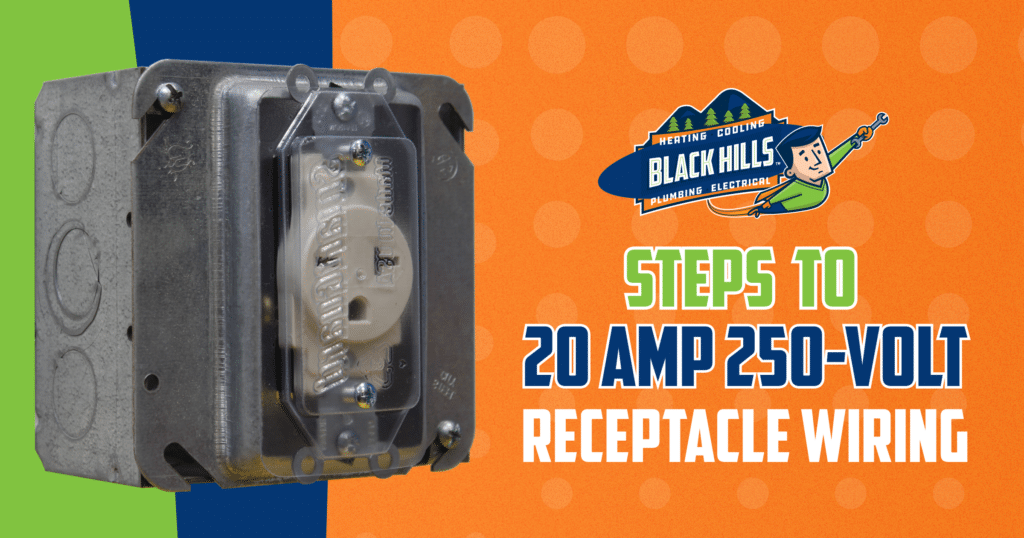
How to Wire an Appliance Outlet
If you’re unfamiliar with electrical wiring, hire an electrician to avoid mistakes, damage, and possible injury. Proceed only if you have experience with wiring electrical circuits and receptacles. Turn the power off before you start and test each wire with a voltage tester.
A 250-volt circuit carries double the voltage of a conventional light circuit. Direct contact with electricity here can lead to being shocked, burned, or electrocuted.
In general, the process for installing 20-amp 250-volt receptacle wiring is as follows:
- Open the Outlet Receptacle: Remove the face plate to expose the receptacle box, and locate the black and red hot wires, white wire, and green or bare ground wire.
- Strip the Insulation: Use a pair of wire strippers to expose about ½ inch of conductor on each wire. Be careful not to damage the copper core.
- Form a Loop at the End of Each Wire: Using the hole in the wire strippers, create a small loop at the end of each wire and hook.
- Attach the Wires: Use the black wire’s loop to hook it over the brass terminal screw on one side of the outlet, and the red wire’s loop to attach it to the other brass screw.
- Tighten the Terminal Screws: Once each terminal screw is tightened, torque the screw another ¼ turn to ensure the connection is secure.
- Connect the Green/White Wires: Hook the green wire over the ground terminal screw and then tighten this screw. Then do the same with the white wire and the chrome neutral terminal.
- Reassemble the Outlet: Reinsert the outlet into the receptacle box and secure the screws on the top and bottom. The screws should be included with the outlet (if not, use #6-32 ½-inch oval head machine screws).
Important Considerations
Thicker 20-amp 250-volt receptacle wiring can be more difficult to connect to the terminal screws than standard wiring. It’s larger and more difficult to bend. Therefore, a crimping ring or kook lug on the end can help you connect each wire to its respective terminal screw.
The most current National Electrical Code (NEC) requires a white neutral wire and a ground wire. An older circuit may not have these. However, you can use only three wires if the third wire is white.
Connect it to the chrome terminal to create a ground. If it’s bare, connect it directly to the ground terminal. A two-wire circuit cable is unsuited for wiring a 250-volt receptacle, so a new cable with a ground wire will need to be run.
If a dedicated circuit isn’t already installed, don’t attempt to do so yourself. Setting up a circuit requires working directly with your electrical panel.
Working on the panel without experience is dangerous and requires a permit in most places. Therefore, you’ll need a licensed and qualified electrician.
Hire an Electrician for 20-Amp 250-Volt Receptacle Wiring Help
Our skilled electricians can install an appliance circuit or rewire your entire home. They avoid safety hazards and comply with the latest codes and regulations.
New wiring can improve efficiency, increase the value of your home, and reduce the risk of fire or electric shock. If you need to install 20-amp 250-volt receptacle wiring, our licensed technicians will provide the updates your Olympia home needs. Call 360-822-9659 to get started.